

Monitor Mount Desk: Function and Advantages

A monitor mount optimizes your ergonomics. Your screen is at the ideal height. Your neck and back remain relaxed. No more bulky stands, giving you more space.
How a Desk Monitor Mount Improves Ergonomics
With a monitor mount, you can position your screen precisely at eye level, preventing tension. The VESA standard ensures a secure hold.
- Ergonomics through stepless adjustment of height, tilt, and rotation
- Tidy desk with clear cable management
- More workspace without bulky stands
The VESA standard defines the hole spacing on the back of the monitor. With suitable screws, you can mount the arm stably and durably.
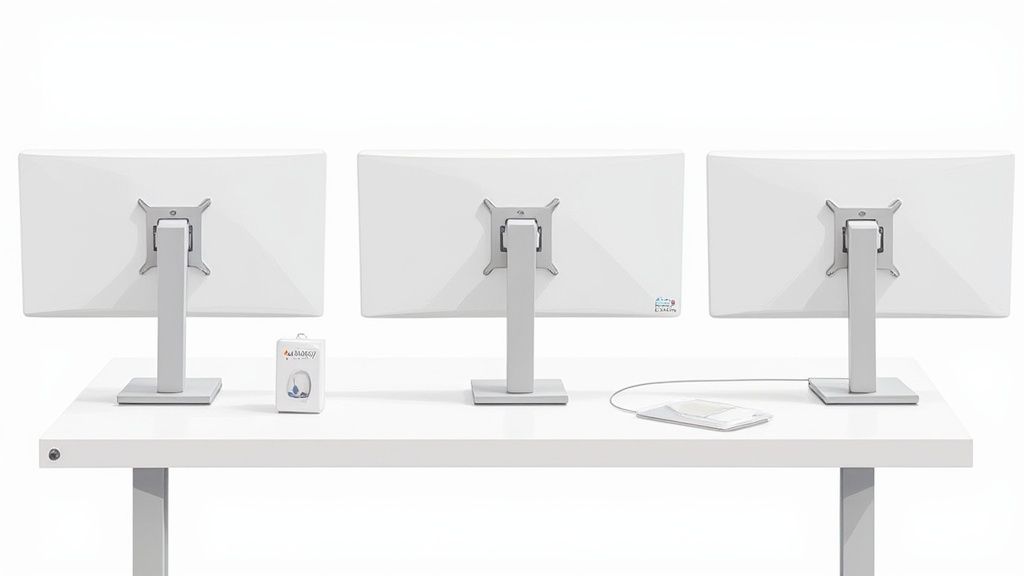
VESA works like a picture frame: The screws are the hooks that securely hold the monitor.
Main Types of Desk Mounts
Depending on your desk and intended use, you have three basic variants to choose from:
- Desk clamp: Attaches to the edge of the desk. Quick to install, removable without leaving residue, space-saving.
- Grommet mount: C-base through the desktop. Ideal for thick tops and permanent stability.
- Freestanding: Sits freely on the desktop. No drilling, flexibly movable.
Comparison of monitor mount types
Comparison of the main types by attachment and area of application
| Type | Attachment | Load Capacity | Area of Application |
|---|---|---|---|
| Desk Clamp | Desk edge clamp | 3-8 kg | Home office/Office |
| Grommet Mount | C-Base | 4-10 kg | Office |
| Freestanding | Base plate | 2-15 kg | Flexible |
Gas Spring Function Explained
Gas springs compensate for the weight of your monitor. This ensures:
- Ergonomic adjustment with minimal effort
- Smooth tilting and swiveling without jerking
- Stable position for different monitor weights
Practical Examples
- Home office with a 27-inch monitor: Immediate neck relief noticeable.
- Dual-monitor setup in the office: More order, space for accessories.
- Freelancer with sit-stand operation: Productivity increases with quick adjustment.
With this basic knowledge, you will find the right monitor mount:
- Check VESA standards and maximum load capacity
- Compare mounting types by desk thickness
- Look for gas spring support
- Use integrated cable channels for your desk setup
- Mount the bracket to the edge of the table
- Insert the gas spring arm into the profile
- Route your cables through the channels
- Adjust the height on the desk frame
Basics of Monitor Desk Mounts
Before choosing a suitable mount, understand the VESA standards. They define hole spacings of 75x75 mm or 100x100 mm. Screws are the hooks that support the monitor.
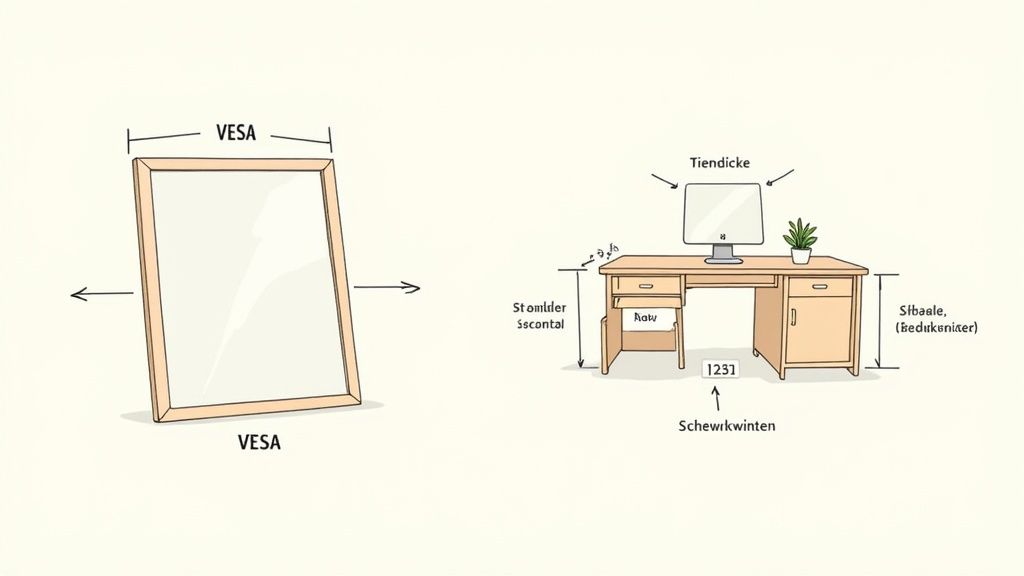
Almost every monitor up to 32 inches supports these standards, making the choice easy.
Comparison of Mounting Types
- Desk clamp: 10-60 mm plate thickness, 3-8 kg load capacity
- Grommet mount (C-Base): stable method, 4-10 kg
- Freestanding: flexible, requires space, 2-15 kg
Technical Data at a Glance
Three key figures are decisive: table thickness, swivel angle, tilt function.
| Feature | Value Range | Analogy |
|---|---|---|
| Table Thickness | 10-60 mm | Comparison to plate thicknesses |
| Swivel Angle | 180 degrees | Swinging a car door open and closed |
| Tilt Function | -90 to +90 degrees | Tilting a bookend |
Over 90% of monitors follow these standards. Discover more insights into VESA functions.
A gas spring works like the suspension on a bicycle, thus relieving the weight of your monitor.
73% of users appreciate this support.
Practical Examples
- 27-inch monitor in the home office with a desk clamp creates more workspace.
- Dual-screen setup in an open-plan office with a grommet mount for stability.
- Coworking space with a freestanding mount for mobile use.
Tips for Selection
- Compare VESA standard and maximum load capacity
- Check desk thickness in manufacturer specifications
- View swivel and tilt angles in the data sheet
- Choose gas spring arms for effortless adjustment
A monitor desk mount can be attached to electrically height-adjustable desk frames. Profiles and screws fit precisely, and cable channels ensure tidiness.
Selecting the Right Monitor Desk Mount
Before choosing, consider three main factors: weight class, screen diagonal, and desk thickness. Material quality and adjustment ranges characterize user comfort.
- Weight class: minimum and maximum load capacity
- Screen diagonal: which monitor types are suitable
- Desk thickness: clamp or grommet mounting
- Material and workmanship: corrosion protection, stability
- Adjustment ranges: height, tilt, swivel
Check Weight Classes
Single arms carry 3-8 kg – ideal for monitors up to 27 inches. Dual arms can handle 2x10 to 2x14 kg. Heavy-duty arms offer up to 15 kg per arm.
Between 2015 and 2023, demand for height-adjustable monitor arms in German offices rose by 72%. Typical load capacities are 3-15 kg per arm. Find out more about monitor arm trends at CMB Systeme.
72% demand for gas spring-supported monitor arms shows the importance of ergonomic workplaces.
Understanding Weight Classes with Analogies
A racing bike is light and agile – like a single arm with a 3-8 kg load capacity. A mountain bike represents robustness, like a heavy-duty arm with up to 15 kg.
Determine Screen Diagonal
Single arms are suitable for 17-32 inches. For 32-40 inches, a dual arm or heavy-duty arm is recommended.
- 24-inch LED monitor: Single arm with 5 kg load capacity
- 32-inch office display: Dual arm with 2x12 kg
- 34-inch ultrawide: Heavy-duty arm up to 15 kg
Consider Optimal Viewing Distance
For 27 inches, about 60 cm is ideal. Ultrawide panels (34 inches) require 80-90 cm distance. This protects your eyes.
Desk Thickness and Mounting Type
Desk clamps fit 10-60 mm thick tops. Grommet mounts offer the highest stability. Freestanding mounts are flexible but require space.
Comparison of Monitor Arm Types
| Type | Load Capacity | Max Screen Size | Desk Thickness |
|---|---|---|---|
| Single Arm | 3-8 kg | 17-32 Inches | 10-60 mm |
| Dual Arm | 2x10-2x14 kg | 17-32 Inches | 10-60 mm |
| Heavy Duty | Up to 15 kg | Up to 40 Inches | 10-80 mm |
Read Material and Data Sheets
Look for aluminum alloy and powder coating. Check gas spring force, swivel angle (+-90°), and tilt range (-90 to +90°).
Evaluate Care and Longevity
- Retighten screws regularly
- Lubricate joints with suitable lubricant
- Keep spare parts such as gas spring or clamping mechanism ready
Troubleshooting Typical Problems
If the arm wobbles, tighten the screws with an Allen key. If the gas spring is jerky, check the pressure and adjust according to the instructions.
Weigh Budget and Warranty
Entry-level models start at €30. Premium arms cost up to €100. Compare warranty conditions and services.
Installation of the Monitor Desk Mount
With this step-by-step guide, you can mount your monitor desk mount precisely and securely.
Tool List
- Allen wrenches in various sizes
- Phillips head screwdriver
- Spirit level
- Protective mat or felt pad
- Drill and suitable drill bit (only for grommet mount)
- Cleaning supplies
Prepare Workspace
- Clear the desk and lay out a protective mat
- Measure desk thickness and choose mounting type
- Sort screws and mark VESA screws
- Place spirit level at the edge of the desk
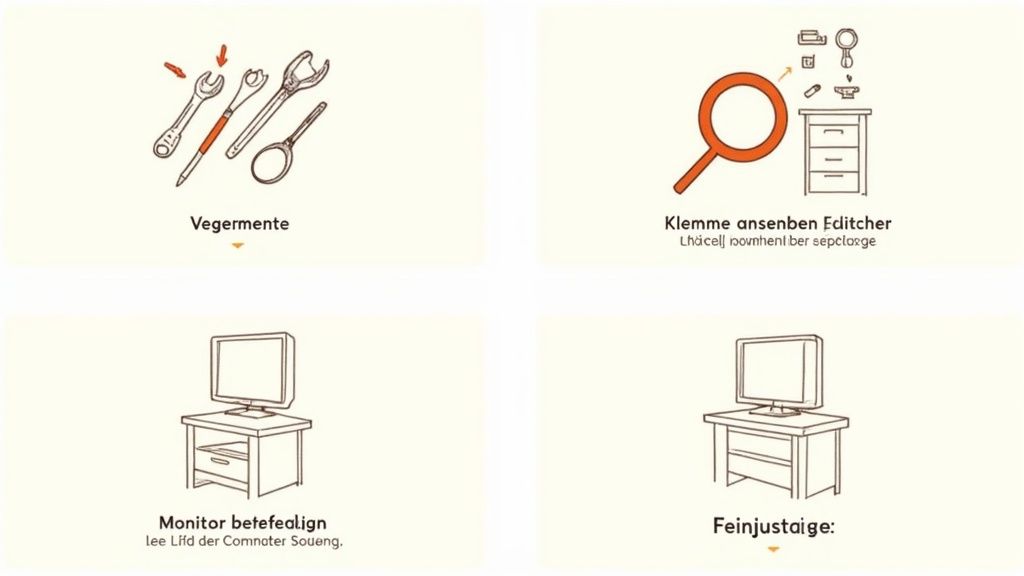
Comparison of Mounting Types
| Type | Advantages | Notes |
|---|---|---|
| Desk Clamp | Quick to install, no drilling | Suitable for 10-60 mm plate thickness |
| Grommet Mount | Very stable | Hole in the plate required |
| Freestanding | Flexibly positionable | Requires footprint |
Mounting the Desk Clamp
Slide the clamp to the edge of the table. Tighten the Allen screw gradually. Check the alignment with the spirit level.
Mounting the Grommet Mount
- Drill a hole for the C-Base
- Thread the threaded spindle through the plate
- Install washer and nut
- Align base horizontally
Adjust Monitor Arm
Insert the arm into the base. Loosen the screw slightly. Find the optimal height. Hand-tighten.
Attach Monitor
- Remove VESA cover
- Place plate on the back of the monitor
- Tighten screws evenly crisscross
- Replace cover
Fine-tuning and Control
Gently move the monitor in all directions. After 24 hours, retighten all screws.
Check Safety
Gently pull on the arm. Test all connections. Visually ensure that nothing is under tension.
Documentation and Maintenance
Note installation date and torque values. Keep spare screws.
Maintenance and Spare Parts
- Replace worn gas springs
- Keep Allen wrenches handy
- Change O-rings in the swivel joint
One Last Check
Simulate a quick height adjustment. Rotate the monitor 360 degrees. This will reveal any play or sticking points.
Cable Management Tips
- Route cables in integrated channels
- Use Velcro straps instead of plastic ties
- Ensure sufficient slack for movement
Further recommendations: Cable management at the workplace.
Integration into Height-Adjustable Desks
If you mount the bracket on a Deskspace desk, you can work ergonomically while sitting and standing. Your movements remain fluid, and your neck muscles are relieved.
- Flexibility: stepless adjustment of height and tilt
- Stability: Deskspace frames support up to 200 kg
- Cable channels: for a tidy setup
Attachment to Desk Profiles
Height-adjustable frames offer flat and surrounding profiles for secure mounting.
| Model | Profile Type | Max Load |
|---|---|---|
| PRO | Standard | 120 kg |
| PRO PLUS | T-Profile | 150 kg |
| TITAN | C-Profile | 200 kg |
Organize Cable Management Clearly
A tidy desk promotes focus and quick position changes. In Deskspace frames, cables run invisibly and remain within reach.
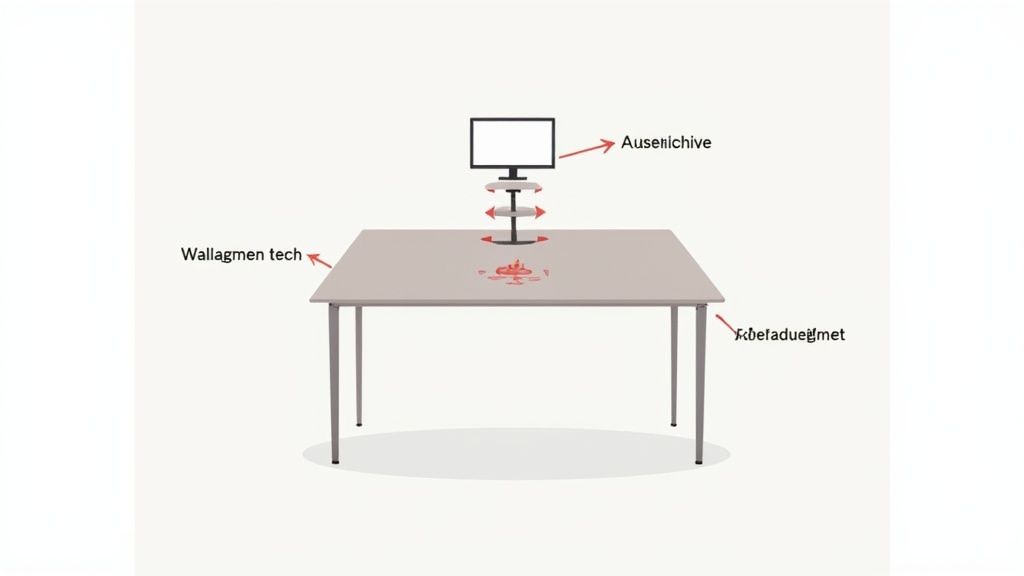
- Lay cables along the guide rail
- Use Velcro straps for reusable bundling
- Allow enough slack for freedom of movement
- Measure and compare cable lengths
- Fix the longest cable first
- Consider slack for height changes
Optimal Height Ranges and Ergonomic Procedures
When sitting, the screen is at a distance of 60 cm. When standing, between 110 cm and 130 cm working height.
Alternating between sitting and standing positions promotes concentration and relieves muscle tension.
Practical report: After switching to height-adjustable mounts, 58% of employees report fewer neck and shoulder pains. Efficiency gains are between 5-12%. More in the Guide to Electrically Height-Adjustable Desk Frames.
Tips for Quick Position Changes
- Use programmable memory presets
- Save individual settings for multiple users
- Touch control for quick adjustments
Long-term Ergonomic Benefits
- Less tension in the neck and shoulders
- More concentration through active positions
- Reduction of back pain
Plan Installation and Maintenance Together
- Mark cable bundles 2. Keep installation instructions and spare parts 3. Monthly visual inspection of screws 4. Lubricate joints according to manufacturer 5. Functionality check of height adjustment
FAQ about Monitor Desk Mounts
How do I measure the desk thickness correctly?
Place a ruler from the bottom to the top of the plate. Note the value. This ensures your 10-60 mm clamp fits securely.
When is a C-Base mounting useful?
For stable attachment to thicker plates from 15 mm (preferably from 25 mm) and loads from 4 kg.
C-Base Decision Aid
- High load capacity: monitors over 8 kg
- Continuous use: 24/7 in the office
- Desk thickness: from 15 mm, recommended from 25 mm
How do I calculate the maximum load?
Add monitor weight and accessories. Multiply by 1.2. This leaves a safety reserve.
- Determine monitor weight (e.g., 5 kg) 2. Add accessory weight 3. Total weight x 1.2
What to do if the gas spring is weak?
Check the adjustment screw according to the manual. If that doesn't help, replace the gas spring. Original Deskspace gas springs provide consistent support.
A correctly adjusted gas pressure ensures smooth adjustment without spring-back
Summary
- Read manual and check VESA distances
- Calibrate gas pressure once a year
- Use original screws and washers
- Measure desk thickness at two points
- Include a safety factor of 1.2
Experience flexible ergonomics and secure attachment with Deskspace. Discover monitor mounts now at deskspace.de


